Google My Business Integration - Setup Instructions
PREREQUISITES – Before starting the setup
Login to your Zohodesk account
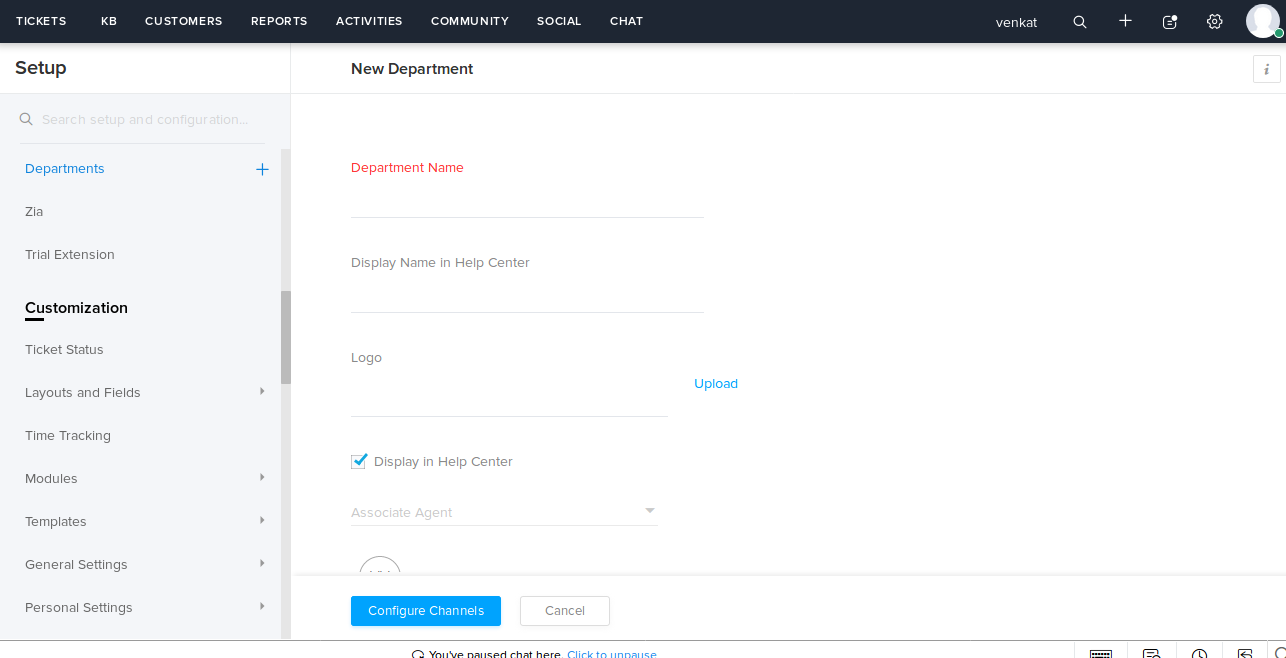
Goto Setup > General Settings > Departments
Create new Department if there is none.
APP SETUP
Step - 1 (Account Setup)
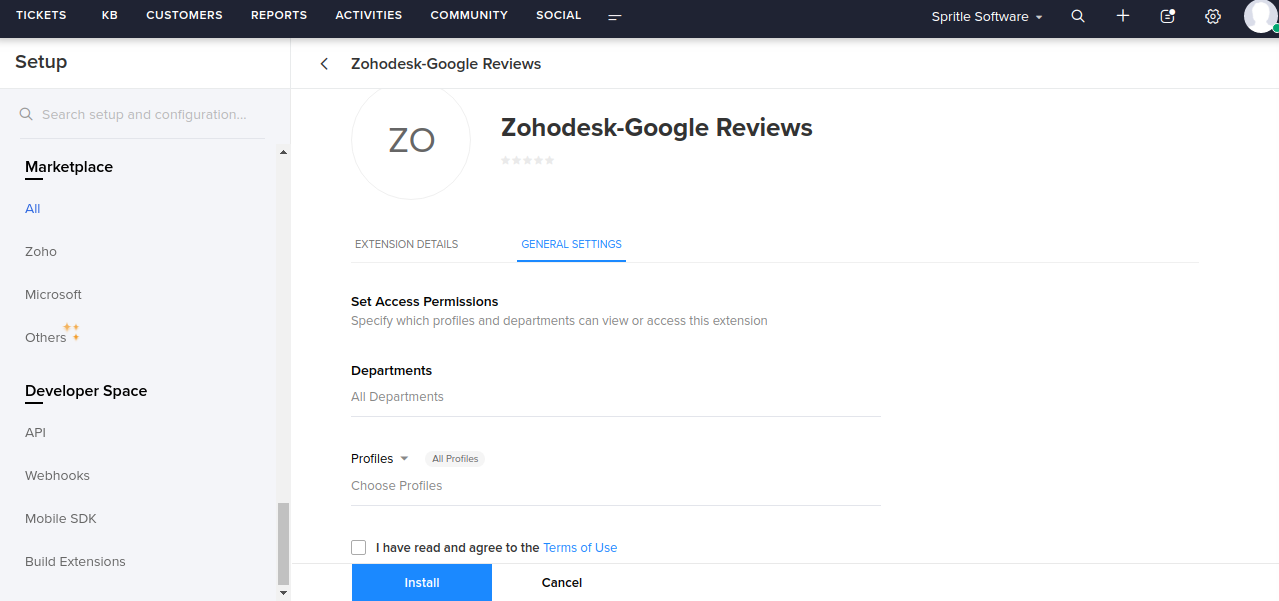
- Install the extension with the required details.
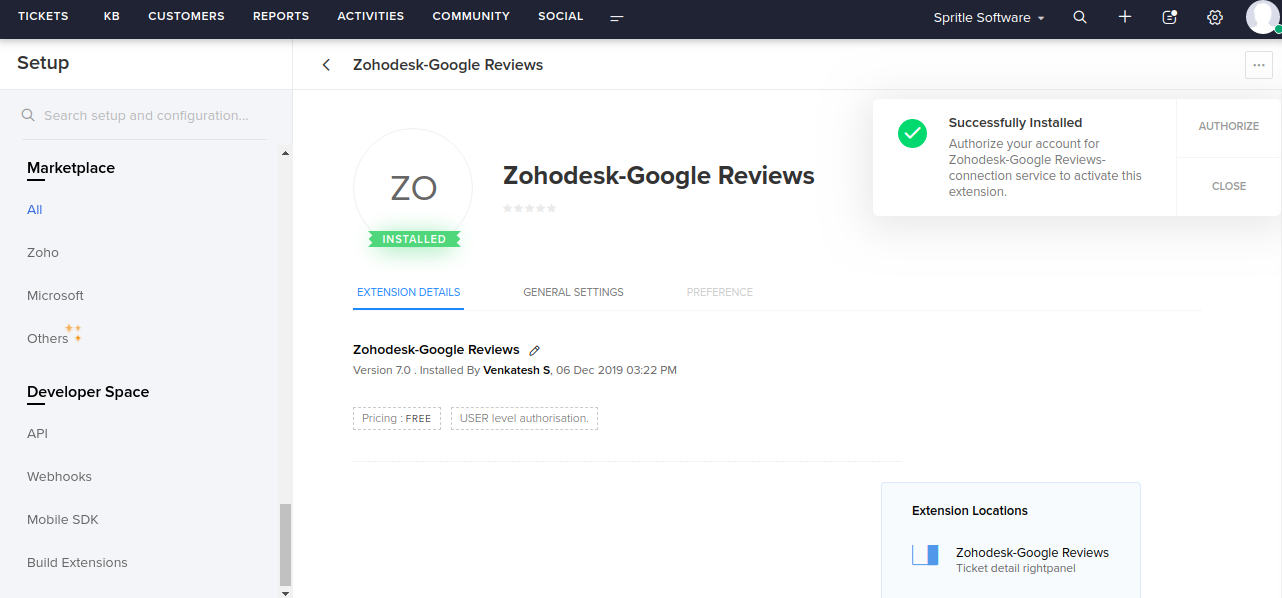
- After installing, click authorize to connect the extension.
- In the connection field, Enter connect and save the detail
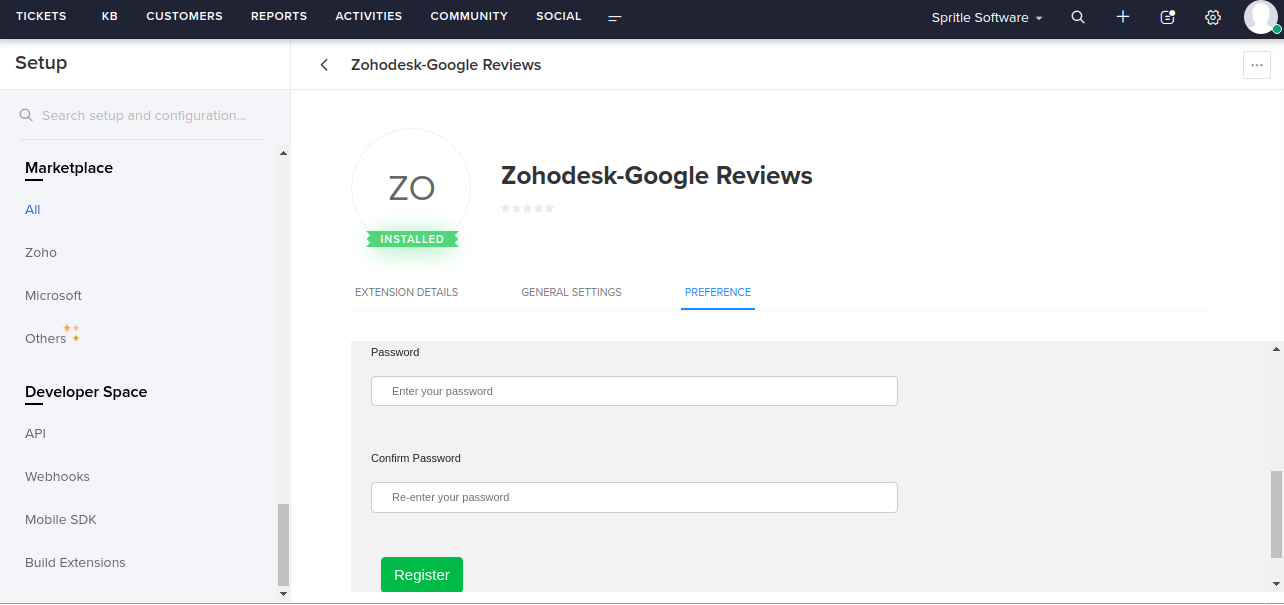
- Then go to preference tab which is located in extension setup and enter your credentials to sign up.
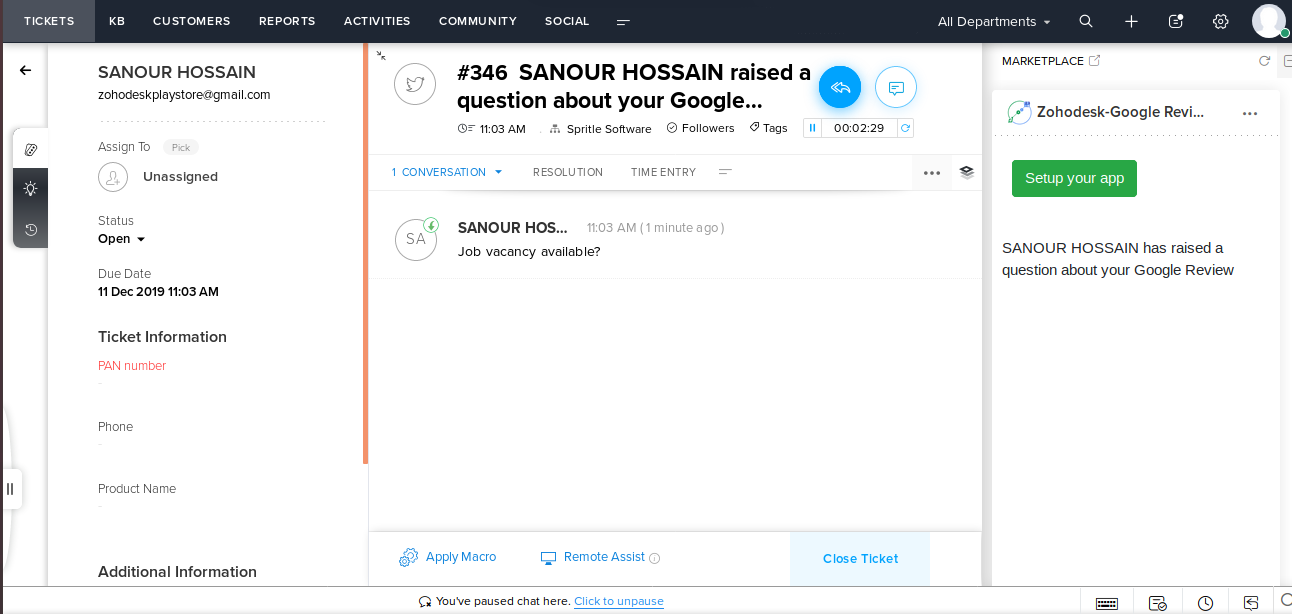
- After successful signup, Go to app widget in the ticket details page and setup your app
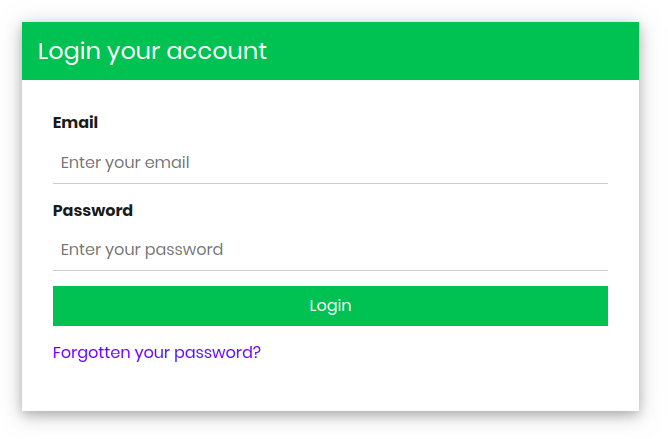
- Before logging in to your account, please verify your email from the registered email address

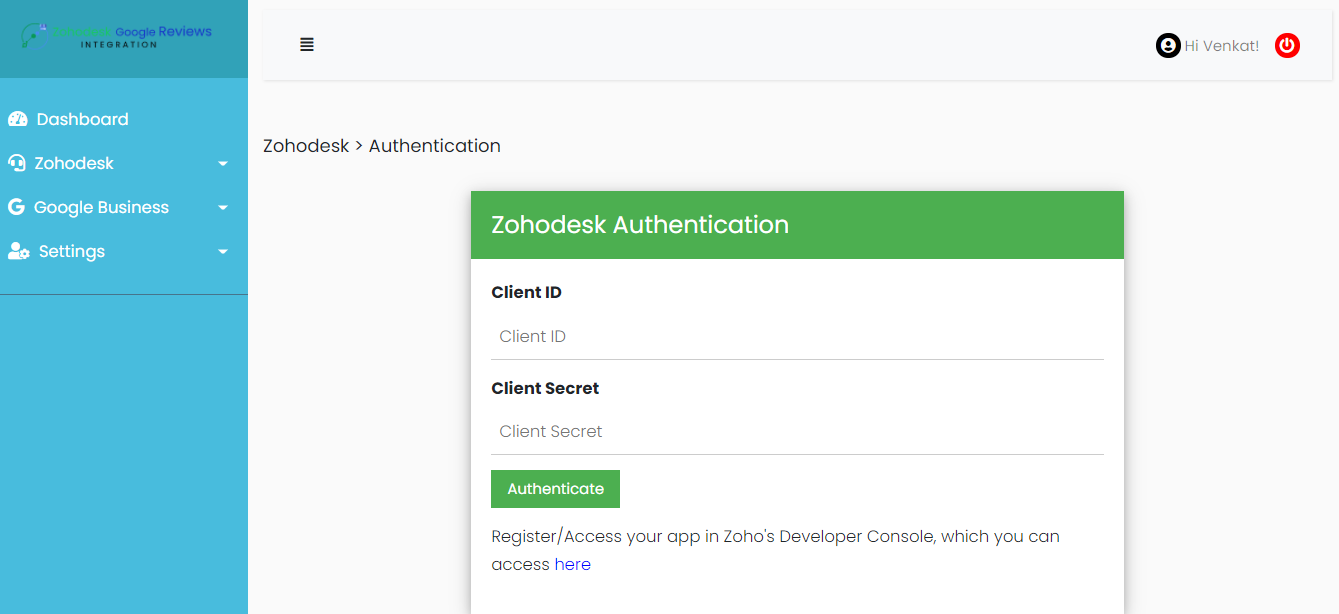
Step - 2 (Zohodesk Setup)
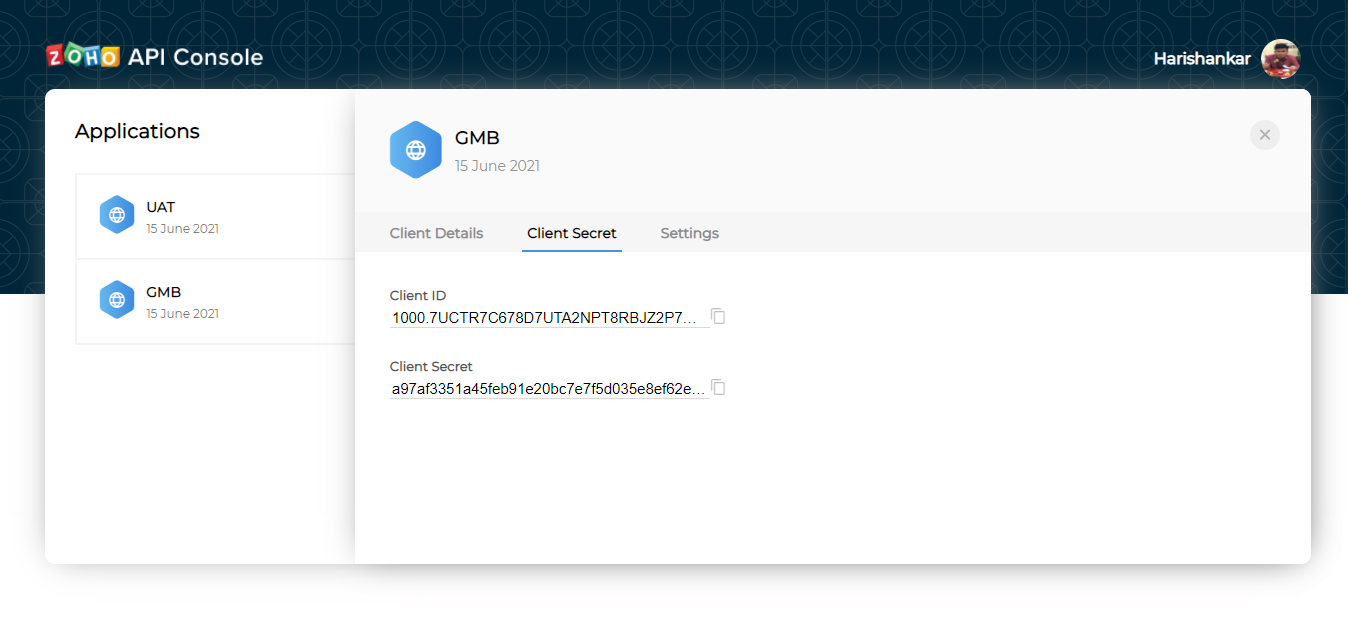
- Provide your Zohodesk Client ID & Client Secret.
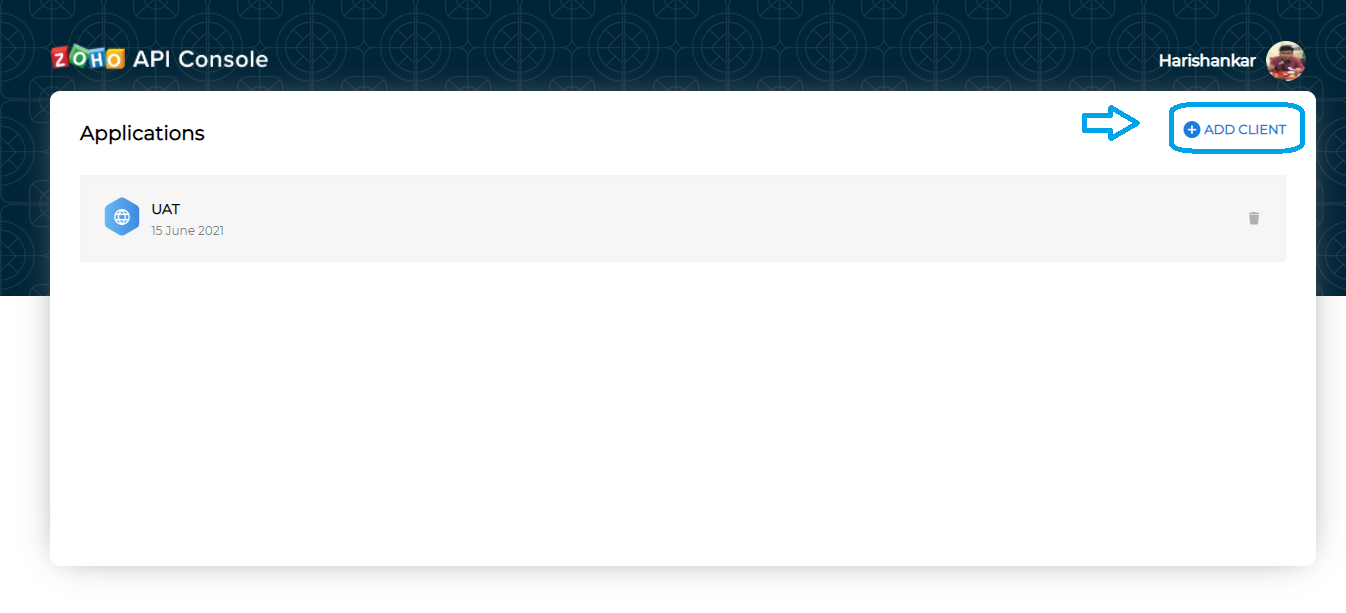
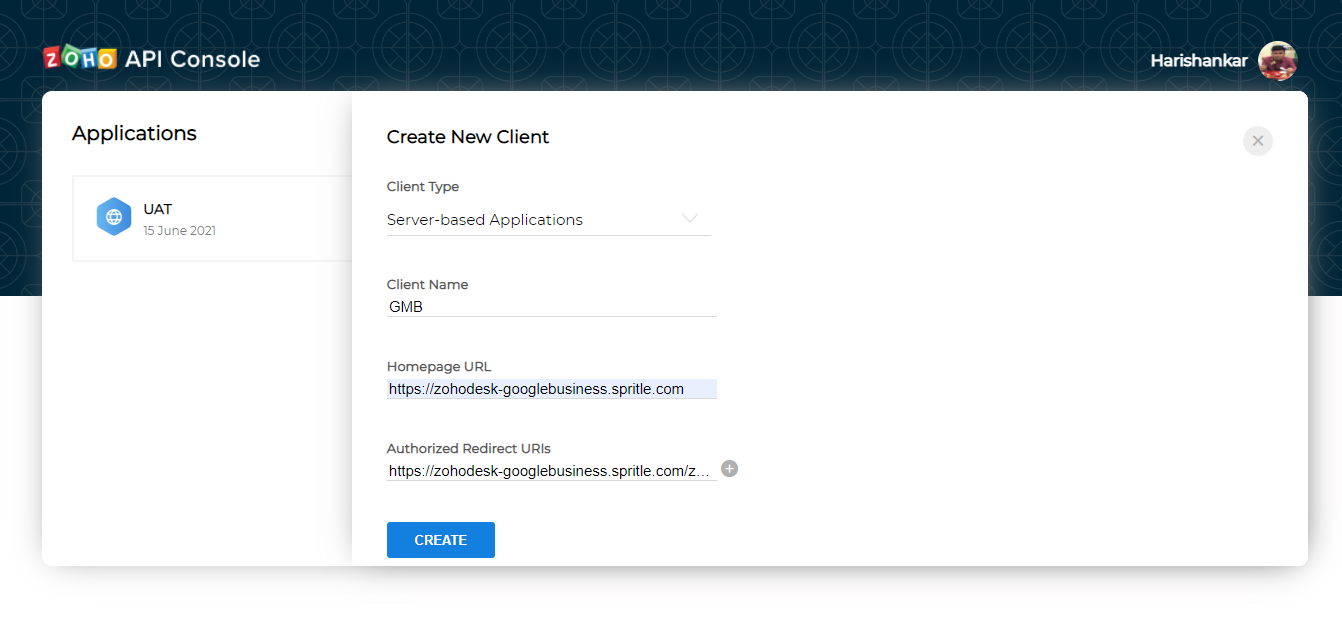
- Register your application to complete Zohodesk Authentication. Click Add Client > Server-based Applications
- Provide Homepage URL as https://zohodesk-googlebusiness.spritle.com and Authorized Redirect URI as https://zohodesk-googlebusiness.spritle.com/zohodesk/authentication
- Copy the Client ID and Client Secret for Authentication
- Click Authenticate and then Accept to complete Zohodesk Authentication
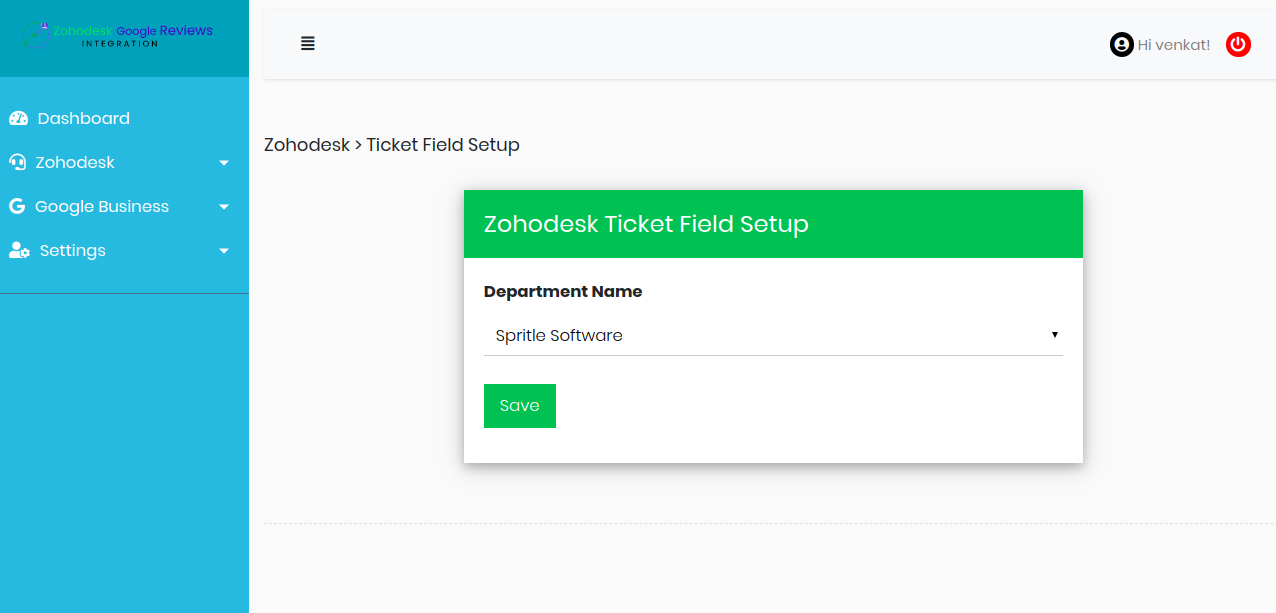
- Enter the department name which you have created in zohodesk in Ticket Field Setup
- Click-> save to store the Ticket in a particular field

Step - 3 (Google My Business Setup)
- Click here to create and login to your Google My Business account
- Click here to create a project in the Google API Console
- Complete and submit this access request form
- A follow-up email is sent to you after your request has been reviewed
- After approval from Google, open the console left side menu and select APIs & services.
- Go to Library and enable My Business Account Management API, My Business Business Information API, My Business Q&A API, Google My Business API.
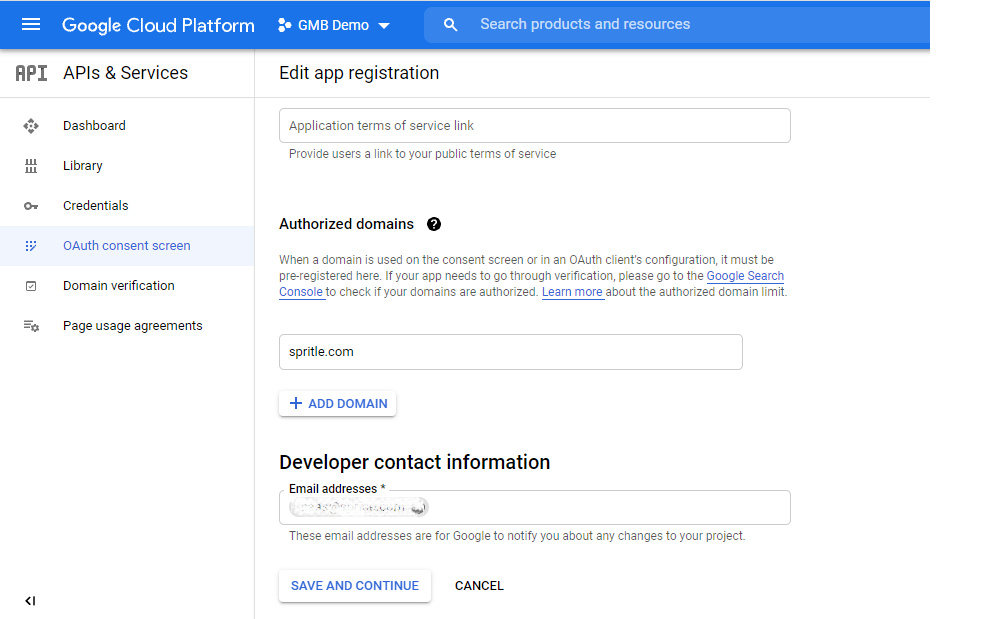
- Go to the Google API Console OAuth consent screen page.
- Set the User type as
- Internal: The reviews from your domain will be managed
- External: The reviews from all will be managed
- Add required information like a App name, User support email & give spritle.com for Authorized domains.
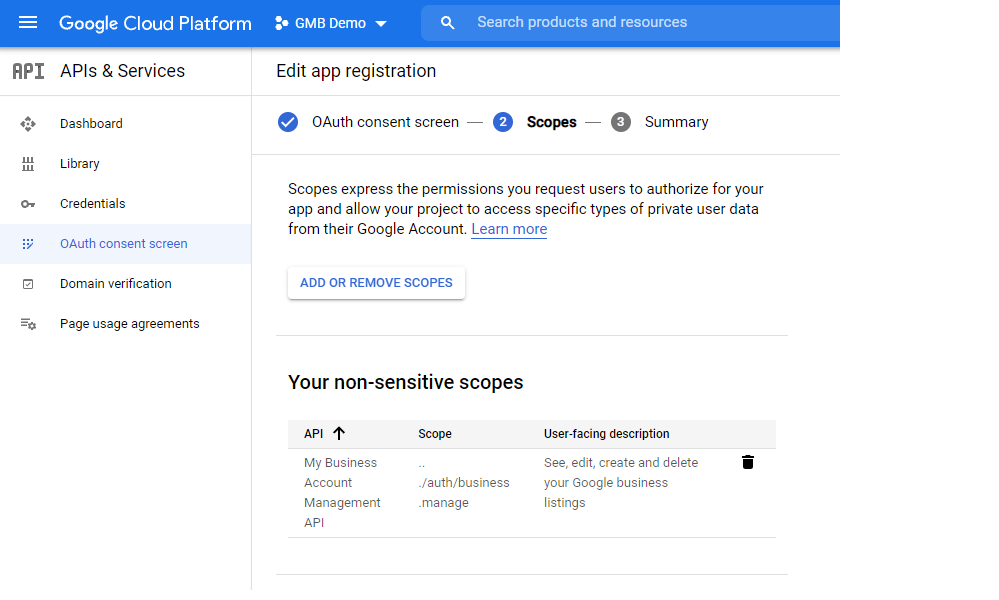
- Click Add Scope. Add the scope My Business Account Management API - .../auth/business.manage and click save.
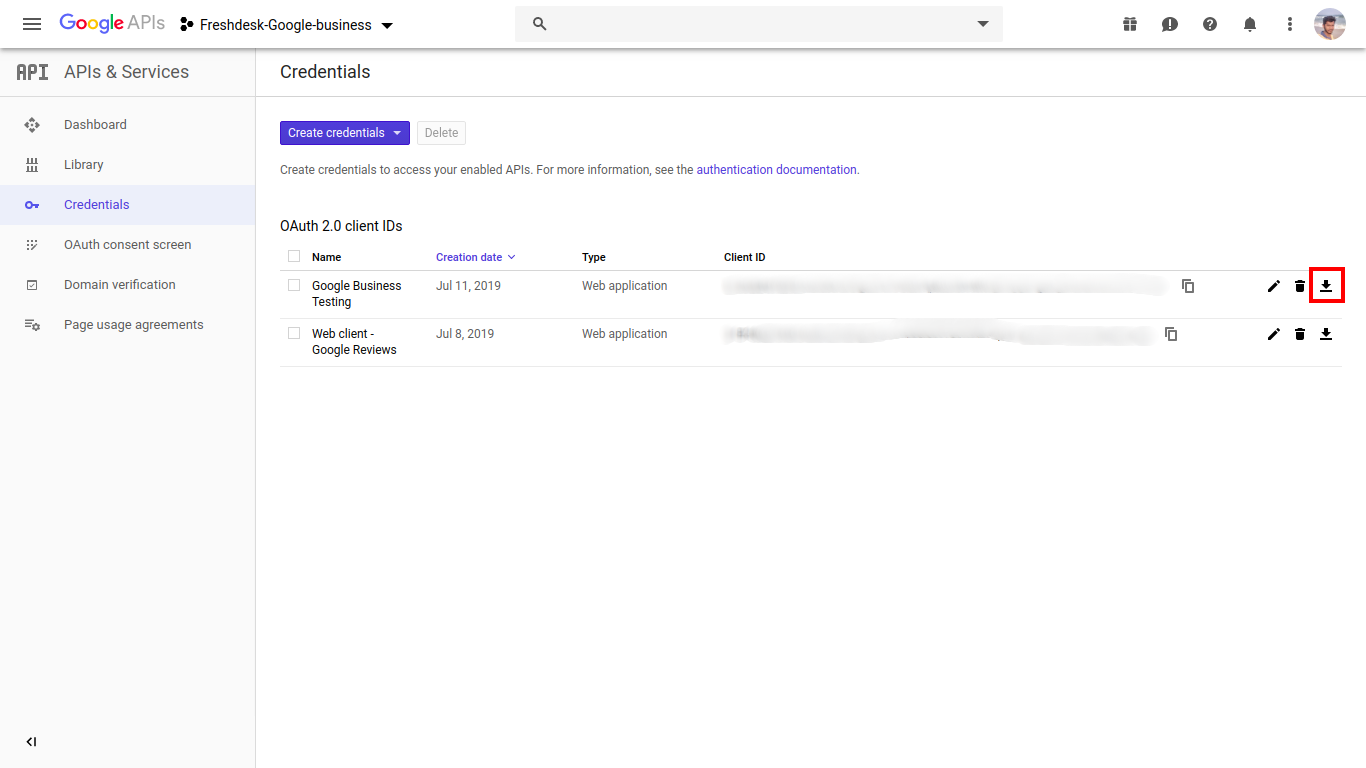
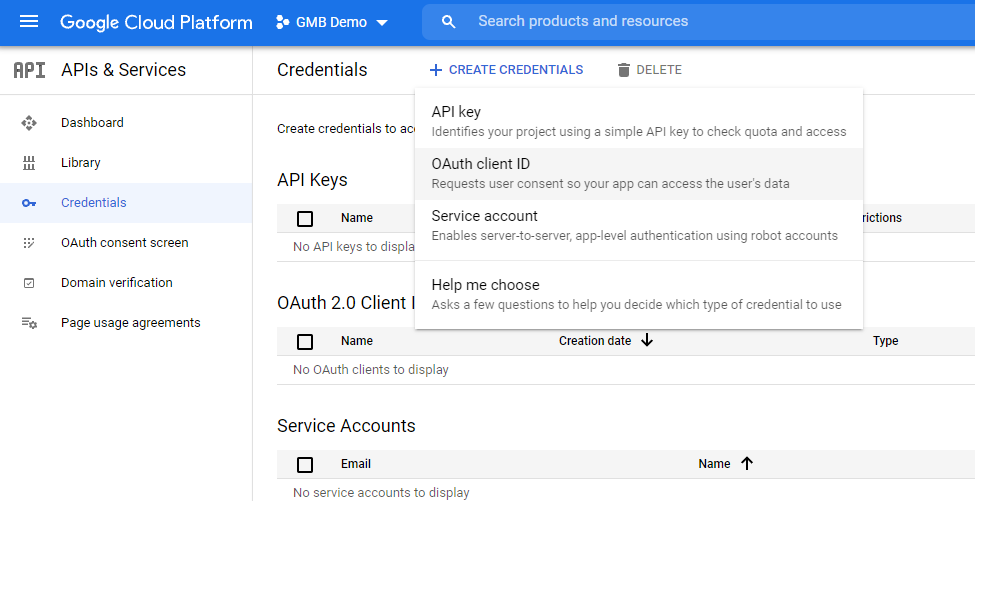
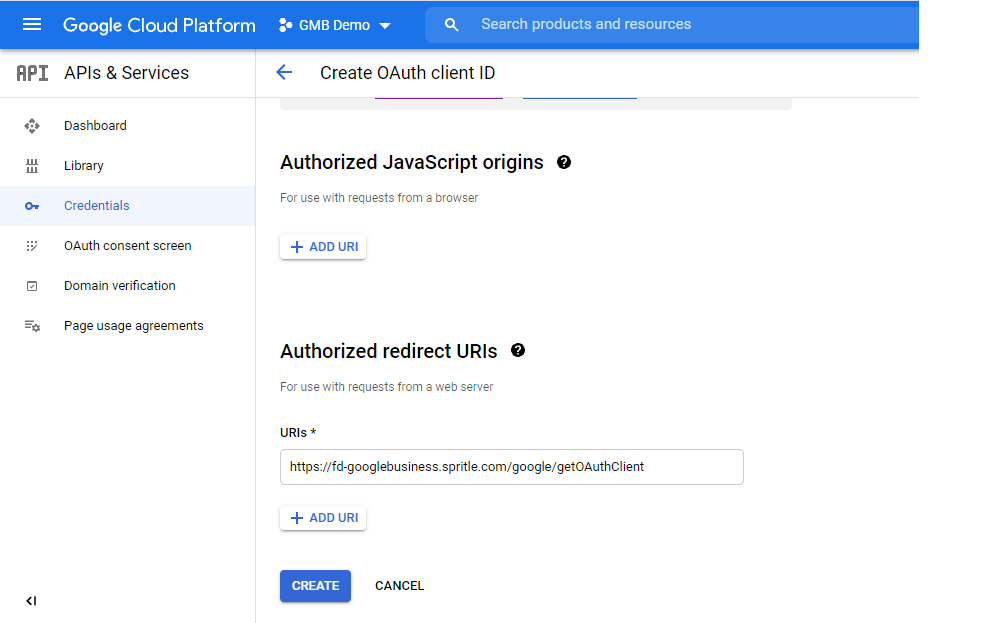
- On the left, click Credentials.
- Click New Credentials, then select OAuth client ID
- Type: Web Application
- Redirect URL: https://zohodesk-googlebusiness.spritle.com/google/getOAuthClient
- Click Create client ID
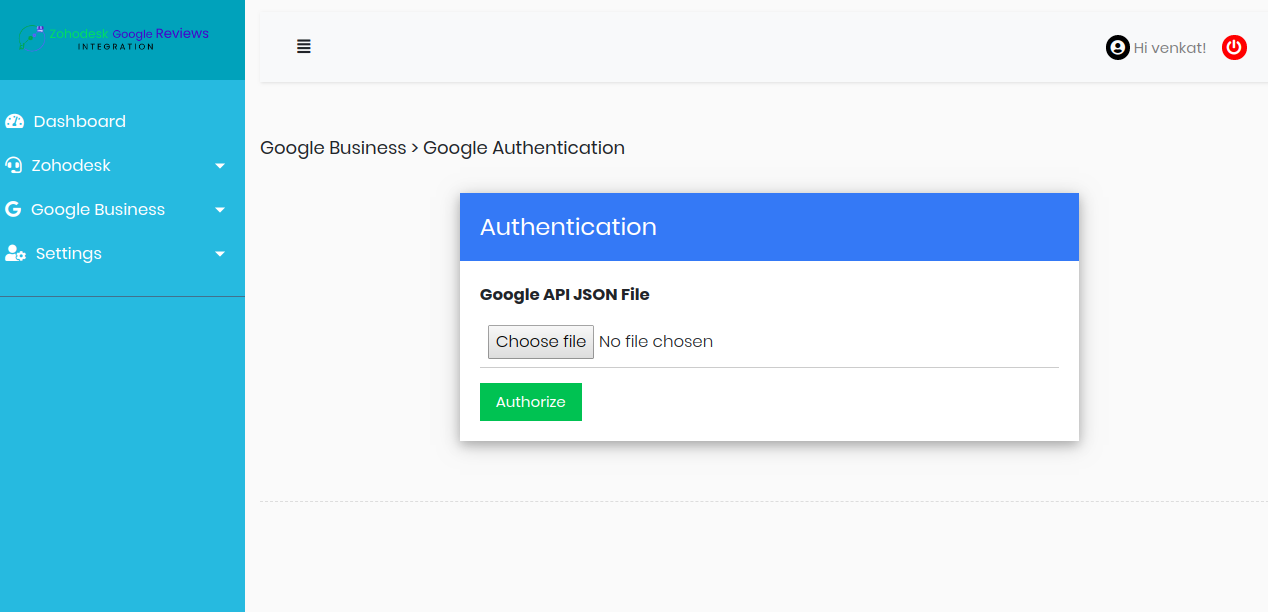
- Download the credentials (JSON file)
Note that it can take up to 2 weeks to process your request from Google.
- Upload the JSON file and click authorize button
- After successful authentication, enable polling status for your location
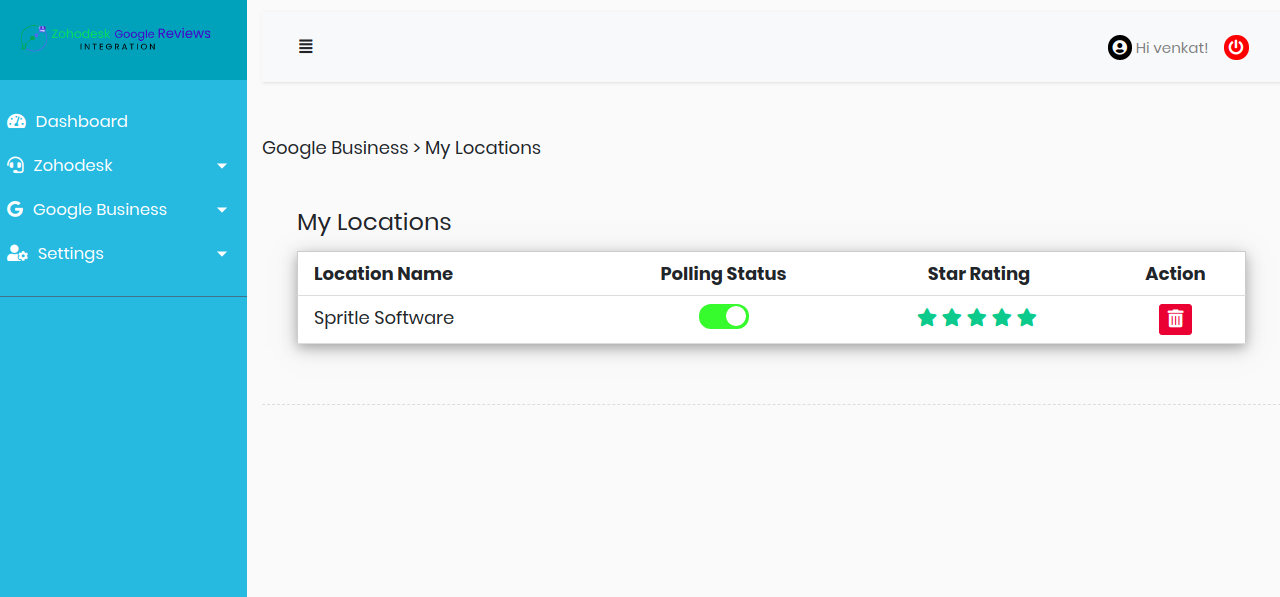
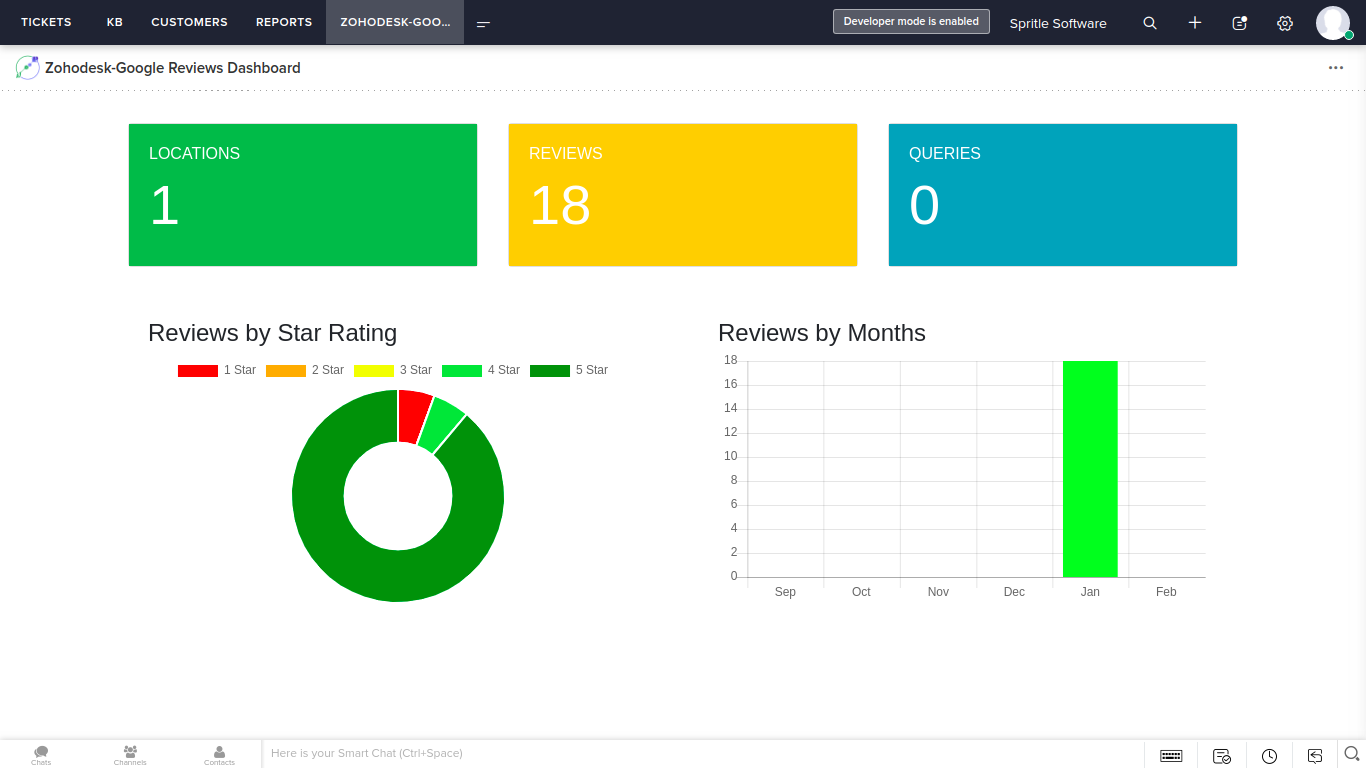
- You can also view the counts of reviews and charts in dashboard which is located in Modules section